

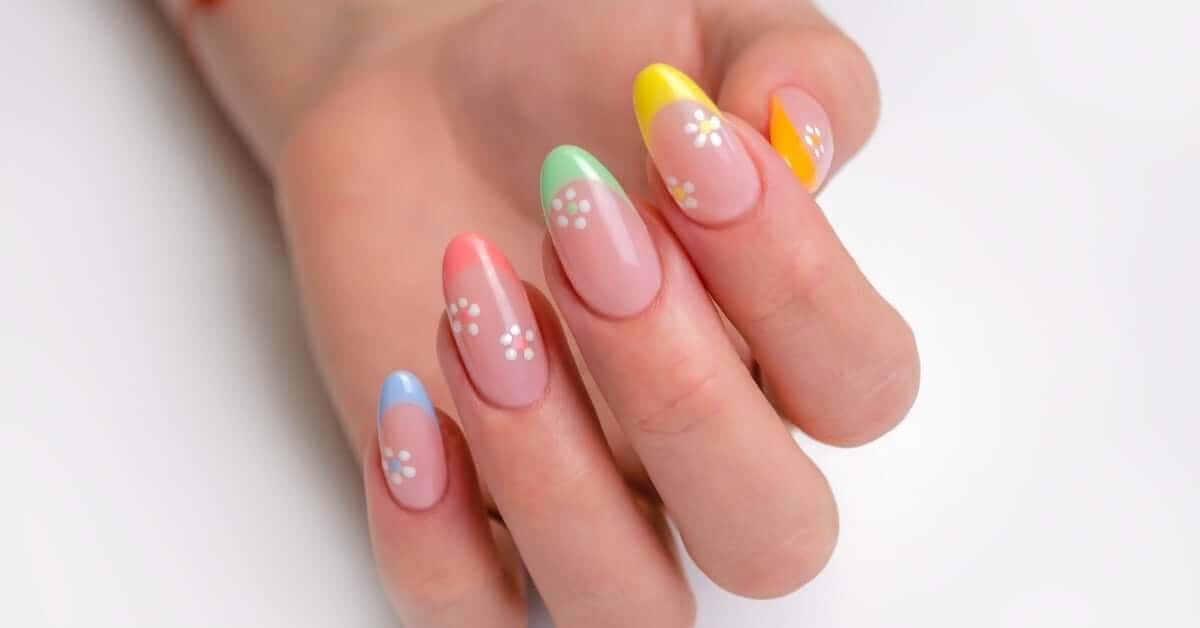

Nail art gets easier when you start with techniques that rely on simple movements and a small set of tools. You don’t need advanced hand-painting skills to create clean designs. A few controlled dots, lines, color blends, and layered details can turn a basic gel manicure into something more personal.
Start with techniques that teach control. Each method builds a different skill, such as spacing, pressure, brush movement, or color placement. Once those motions feel comfortable, you can combine them to create more detailed looks without complicating the process. These are the beginner-friendly nail art techniques to learn.
Core Techniques
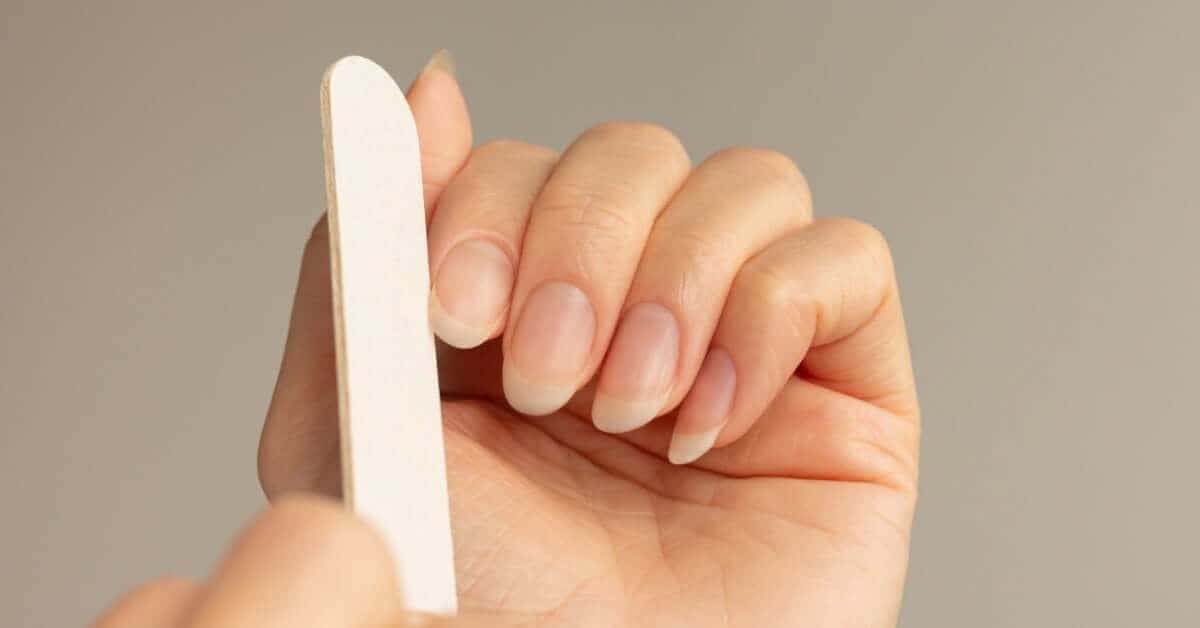
Start with a fresh set of manicured nails. While you can perform any of these art techniques on nail polish, gel polish will keep your designs lasting longer.
Practice Dots
Dots teach spacing and pressure, making them one of the easiest nail art techniques to learn first. Use a dotting tool, the rounded end of a bobby pin, or the tip of a small detail brush. Place a small amount of gel color on a palette so you can reload the tool without repeatedly dipping into the bottle.
Press the tool straight down, then lift it straight up. Use the same pressure for evenly sized dots. Change the dot size by switching tools or adjusting how much product you pick up. Create rows, clusters, flowers, or simple polka-dot patterns. Learn Lines
Straight and curved lines build brush control. Start with a long liner brush or a fine detail brush, and load only a small amount of gel onto the bristles. Too much product can make the line thick, uneven, or raised.
Rest your hand on a stable surface before you begin. Pull the brush toward you in one smooth motion instead of trying to draw the full line from an awkward angle. For curved lines, rotate the finger slightly while guiding the brush.
Practice vertical lines, diagonal accents, small waves, and side-to-side curves. Keep the initial designs simple so you can focus on steady movement and consistent line thickness.
Try Color Blocking
Color blocking uses blocks of different colors to create a graphic design. The technique works well for beginners because the shapes can stay simple. Start with half-nail designs, diagonal sections, or small corner accents.
Use a detail brush to outline the section, then fill the area with a thin layer of gel color. Keep the edge crisp by working slowly near the border. Cure the section before adding another color beside it if you want clearer separation.
You can also use nail art tape as a temporary guide. Press the tape firmly onto a cured surface, apply a thin coat of color, and remove the tape before curing.
Build an Ombré
An ombré blends two colors into a gradual transition. Start with colors that sit close together in depth or tone on the color wheel. Similar shades usually blend with less effort than colors with a strong contrast.
Apply both colors next to each other on a small makeup sponge. Dab the sponge lightly across the nail, keeping the overlap near the center. Use light pressure so the sponge transfers thin layers rather than leaving a thick texture.
Cure each layer, then repeat the dabbing process until the blend looks even. Before each cure, wipe away gel from the surrounding skin. Finish with gel top coat to smooth the surface.
Create a Drag Marble
This technique creates a marble design with very little brushwork. Apply a thin base layer of gel color, then place small dots or short lines of a second color on top before curing. Use a fine brush or dotting tool to drag through the wet colors.
Move the tool lightly through the gel. Heavy pressure can scrape through the color and expose the layer underneath. A few passes usually create enough movement, so stop before the colors mix into one shade.
Try simple S-shaped movements, loose curves, or short side-to-side pulls. Cure the design as soon as you like the pattern.
Add French Tips
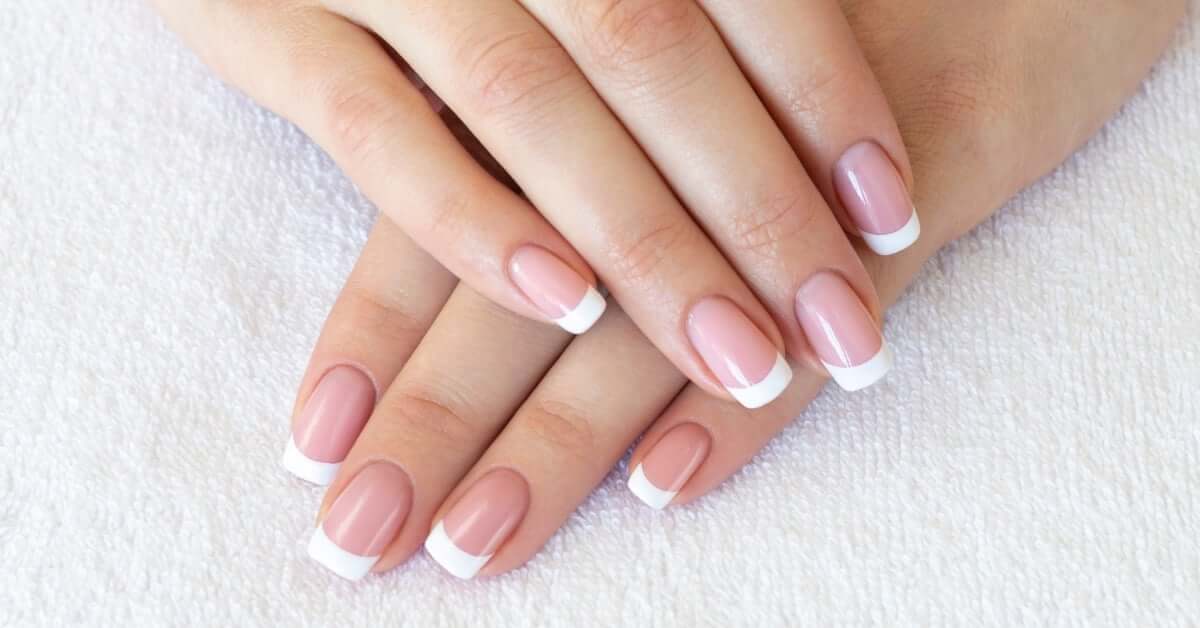
French tips teach edge control and symmetry. Start with a classic curved tip, or try a straight, angled, or diagonal French design once you feel comfortable with the basic placement.
Mark the center of the free edge with a small dot if you need a reference point. Draw one side of the tip, then match the other side. Fill the remaining space with a thin layer of color, then refine the border with a small brush.
For an easier method, use a French tip guide or piece of tape on a fully cured surface. Press the guide firmly, apply the tip color, and remove the guide after curing.
Use Stickers and Decals
Stickers and decals add detail without requiring precise hand-painting. Start with a cured color layer and choose decorations that fit the nail without touching the surrounding skin. Trim larger decals before application if the shape needs adjustment.
Press the decoration flat so no corners lift. For water decals, follow the product directions for soaking and transfer. Let excess moisture dry before you apply top coat.
Seal the entire design with top coat and cover the edges of the decal. Add another thin top coat if the surface still feels uneven.
Layer Techniques
Once each technique feels comfortable, combine two methods in the same set. Add dots over a color-blocked section, draw fine lines across an ombré, or place a decal over a simple French tip. Using a small number of techniques keeps the design controlled and gives you more room to practice.
Keep the layers thin as you add detail. Cure gel layers at the right points so colors don’t smear into areas where you want clean separation. Stop when the design looks balanced instead of filling every open space.
Repeated practice will improve your timing and hand control more quickly than trying a complicated design once. Save photos of finished sets to compare line thickness, spacing, and placement over time.
Keep Practicing
Choose one method for your next manicure and apply it to several nails. Adjust the tool, pressure, or color placement as you work. Small corrections from nail to nail will help you understand how the gel responds.
Learning these core nail art techniques will help you achieve salon-worthy nails at home. Simple techniques still leave plenty of room for creative designs. With steady practice, clean application, and the right tools, you can build a stronger nail art routine without turning every manicure into a complicated project.