

Doing your nails at home gets easier when your products behave predictably. If your favorite gel suddenly drags across the nail, your technique might not be the problem.
You don’t need to replace your entire kit on a schedule. Learn which changes signal aging or contamination, and check your supplies before starting a manicure. A bottle you haven’t touched in months deserves a closer look. Continue reading to discover signs it’s time to replace your nail products.
Check the Expiration Information
Start with the label on each bottle or jar. Some manufacturers print an expiration date, while others use an open-jar symbol to show the recommended period after opening. The timing varies by formula, so don’t assume every gel product lasts the same amount of time.
If you keep several colors, mark the opening month on a sticker without covering the directions. Ask the manufacturer about unclear shelf-life information. Heat or contamination can shorten a product’s useful life.
Notice Texture Changes
Pay attention to the way gel moves when you lift the brush. If a color gel develops gritty bits or unusual strings, inspect it before applying it.
Different gel nail systems have different textures. Builder gel often feels thicker than gel color, and a cool room can make some products less fluid. Let the closed container reach its recommended working temperature before judging it.
If you see hard pieces forming in the jar or notice persistent lumps, replace the product. Don’t thin gel with acetone or another unapproved liquid, which can interfere with curing.
Watch for Unexpected Color Shifts
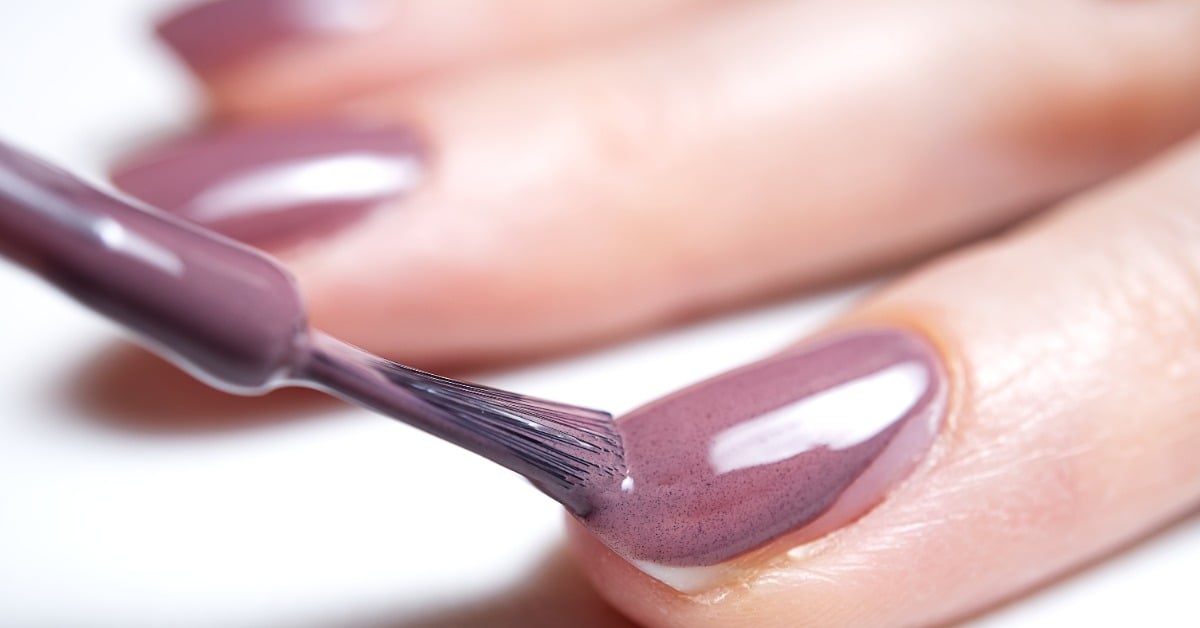
Compare a familiar shade with how it looked when you bought it. Major color changes may signal a problem, particularly after heat or sun exposure.
Some pigments separate during storage. Follow the manufacturer’s mixing instructions, then check the color again. If streaks or particles remain, use a fresh bottle instead of adding another layer.
Pay Attention to Unusual Smells
Most nail products have a recognizable smell. If a product develops an unfamiliar or sour odor, stop using it while you check its condition. An odor change gives you a reason to investigate.
Don’t lean over an open bottle to test its scent. Keep your nail area ventilated. If a strong odor change persists, contact the manufacturer or replace the product.
Take Curing Problems Seriously
If gel looks wet or feels soft after curing, check the recommended time and lamp compatibility. Thick layers can also block proper curing. If the lamp timer stops early or the unit malfunctions, troubleshoot the lamp before applying another coat.
A slightly tacky surface doesn’t always mean failure. Many gel products leave an inhibition layer even after proper curing. Follow each product’s directions rather than judging by surface stickiness alone.
If gel won’t cure with a compatible lamp and correct technique, stop using it. Don’t peel off questionable gel or handle uncured product with bare fingers. Uncured gel can contribute to skin sensitization and allergic reactions, so keep it off your skin and follow the manufacturer’s safe removal directions.
Look Into Lifting and Peeling
If your manicure lifts early, review your prep before blaming an older bottle. Oil on the nail plate or gel touching your skin can interfere with adhesion.
Check whether your base coat matches the color and finishing products you’re using. Mixing products from unrelated systems may cause compatibility problems. If one bottle keeps causing trouble, set it aside and contact the manufacturer.
Don’t cover lifted gel with another coat. Moisture can collect under separated product. Remove the lifting safely according to the product instructions before doing a new set.
Inspect Base Coats and Prep Liquids
Even nearly full prep products can change. Check for debris, unusual cloudiness, or a cap that no longer closes tightly. A leaky container may lose liquid or collect contamination.
Keep the brush away from filing dust while you’re getting your nails ready. Wipe the work surface and close bottles promptly. If debris enters a prep liquid, replace it instead of trying to strain it out.
Check Your Top Coat
If your top coat becomes stringy or lumpy, inspect the brush and bottle opening. Dried product around the neck can keep the cap from closing properly.
Clean the bottle rim according to the manufacturer’s directions. If the product inside has thickened dramatically or contains hardened pieces, choose a fresh top coat. A thicker layer won’t fix the problem and may cure poorly.
Look for Dust or Cross-Contamination
At home, filing near an open gel jar can send dust inside. An unclean brush can also transfer residue between colors.
Look inside containers before use. If you spot foreign material, don’t simply scoop out the visible pieces and continue. Follow the manufacturer’s disposal instructions for contaminated products.
Keep gel jars closed while filing, and wipe your work area quickly before opening them. Use a clean brush for each product, as directed.
Replace Worn Nail Tools
A brush with stiff or bent bristles can make good gel difficult to apply. Clean reusable brushes as directed, and replace them if they no longer return to their normal shape.
Check your files and buffers for wear. Replace single-use abrasives after their intended use, and don’t keep using a tool with a loose attachment or damaged surface. Clean and disinfect reusable tools according to their instructions.
Inspect Tips and Nail Glue
If you use full-cover tips or press-ons, inspect them before attaching. Cracks or warped edges can prevent a tip from sitting flush against your natural nail. Choose a better-fitting tip rather than forcing one into place.
Nail glue can change over time in storage, too. If it thickens dramatically or the nozzle develops a hard plug, don’t try to revive the formula with water or solvent. Replace a bottle that no longer dispenses as directed. Keep the cap closed after each use and follow the expiration information on the package.
For gel-based tip adhesive, use the manufacturer’s compatible lamp and curing instructions. Never treat a curing gel like regular nail glue.
Rethink Where You Store Everything
A windowsill or a spot beside your curing lamp isn’t a good home for light-sensitive gel. Close containers promptly and keep them away from direct sunlight. Follow the temperature recommendations on each label rather than leaving products in a hot car or a cold garage.
If extreme temperatures affected a formula, ask the manufacturer before using it. A tidy drawer or storage case can also reduce accidental spills and keep dust away from open products.
Make Restocking Simple
Before a manicure, check dates and inspect the bottles you’ll use. Put questionable products aside before you prep your nails.
Buy sizes that match how often you do your nails, rather than stocking up on colors you’ll rarely use. When you need replacements, focus on the products you use most, such as Mia Secret gel nail systems and manicure tools, rather than purchasing a whole new kit.
Feel Confident About Your Next Set
You don’t need salon experience to recognize troubled products. Check labels and review your application before replacing anything. If a product seems contaminated or won’t cure as directed, don’t risk using it just to finish a manicure.
Knowing when it’s time to replace your nail products will help the products perform correctly and help you store them properly. Then enjoy your next at-home set with supplies you trust.