
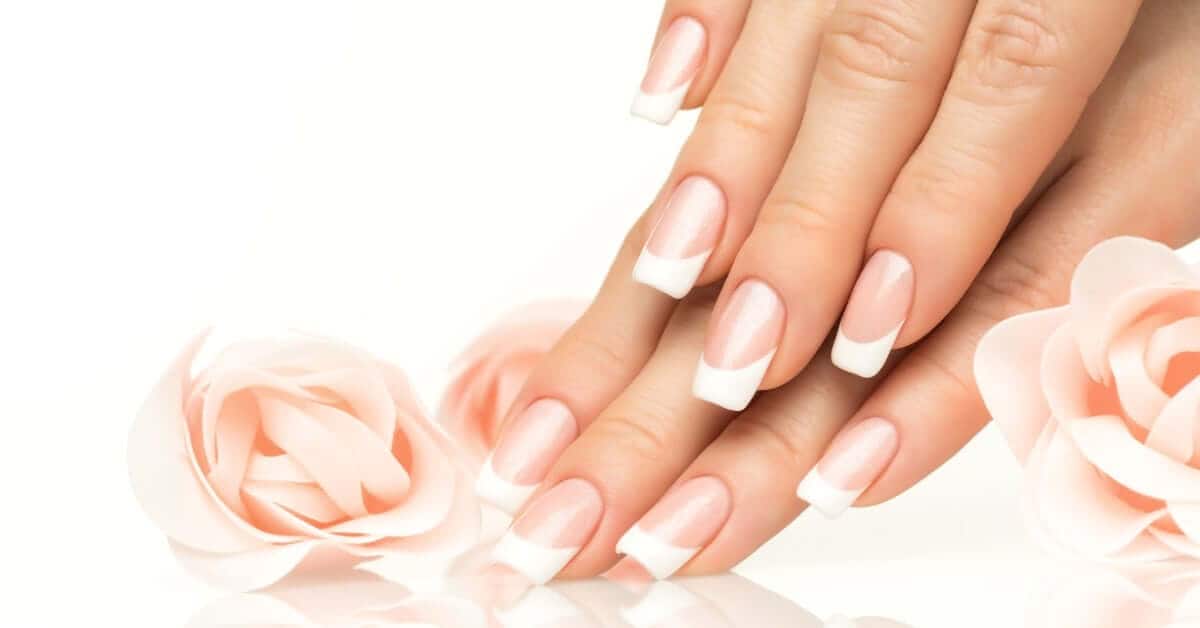

Reverse French manicures look clean when the smile line is built into the acrylic instead of painted over the finished nail. The technique depends on product control, timing, and a clear plan before the first bead is placed. To master reverse French manicures using acrylic powders, focus on how each bead is placed, refined, and finished through the entire process.
Start With the Right Acrylic Powder
French manicures require more than one acrylic powder. A common approach uses a nude or pink powder for the base, a white or colored powder for the tip, and clear acrylic when the design needs encapsulation.
Choose powders from within the same system in order to ensure consistency. If one powder sets much faster, the smile line becomes harder to refine before the product locks.
Prep and Shape Before Building the Smile Line
As with any acrylic set, proper prep is imperative. Dust, oil, or residue can affect adhesion around the cuticle area, sidewalls, and free edge. Detailed prep gives the acrylic a reliable surface in which to adhere.
After prep, establish the extension method: tips or forms. Then, determine the desired length and shape before placing the pink acrylic.
Build the Base First
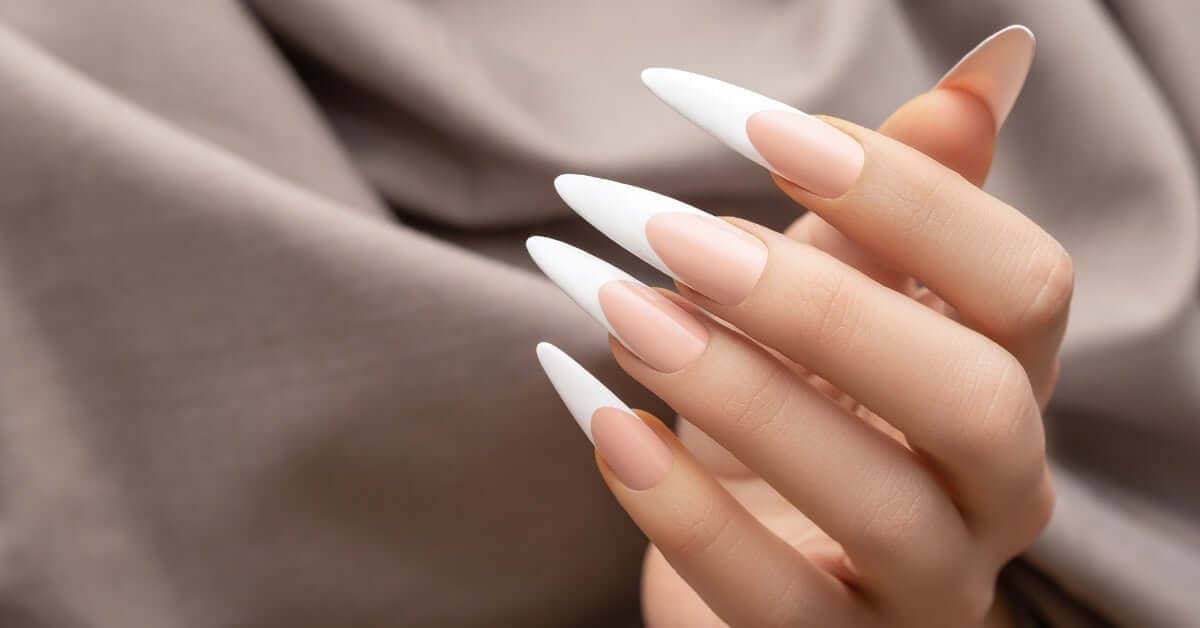
Pink or nude acrylic creates the base section of the French nail. Start sculpting the nail at the cuticle, working your way down to the smile line, then shape the smile line. This step controls the overall appearance of the design.
For a natural set, this section is the largest so you may need to use more than one bead of acrylic, depending on the length of the nail bed. Make sure your bead isn’t so large that is floods the sidewalls. Press and guide the acrylic into place, then use the tip of the brush to shape the smile line. Keep the cuticle area thin and avoid dragging too much product toward the free edge.
If you work with a bead of acrylic that is too wet, the smile line can slump or blur. It’s best practice to refine the smile line while the acrylic remains workable. However, if it’s uneven after curing, you can always refine the shape with a file before moving on to the white.
Gelux Gel Polish UVA

$15.00
$19.00
LARGA DURACIÓN Y ULTRABRILLANTE: el esmalte en gel Gelux Soak-off puede durar más de 21 días sin perder su increíble acabado brillante. Esto se logra utilizando solo ingredientes de primera calidad. Roba las miradas de todos tus amigos con una… read more
Cover Almond Acrylic Powder

$13.00
Mia Secret Cover Acrylic Powder se desarrolla y produce en los Estados Unidos. Es la elección perfecta para estudiantes, principiantes y técnicos de uñas experimentados. Son ideales para cubrir imperfecciones y alargar la cama de la uña. Desarrollados con una… read more
Gelux Gel Polish Paris

$15.00
$19.00
LARGA DURACIÓN Y ULTRABRILLANTE: el esmalte en gel Gelux Soak-off puede durar más de 21 días sin perder su increíble acabado brillante. Esto se logra utilizando solo ingredientes de primera calidad. Roba las miradas de todos tus amigos con una… read more
Carve a Smile Line That Can Hold Its Shape
A crisp smile line starts before applying white acrylic. While sculpting the base of the naile, use the tip of the brush to create the curve of the smile line, then refine the edge of the pink acrylic so the white has a clean place to meet it. The edge should be defined enough that the white acrylic can sit against it without sliding over it.
Deep smile lines require more attention to symmetry. Check the curve from the front and from the client’s view before the acrylic fully sets. The curve should look balanced across both sides, not pulled higher on one sidewall.
Small corrections are easier to make before applying the next color. Be sure to:
- Clean the curve with the brush edge while the acrylic is still workable
- Refine hardened edges with a hand file before adding the white acrylic
- Check both hands together to keep the smile line depth consistent
Apply the Tip Color Without Creating Bulk
Once the base of the nail is shaped, apply the white acrylic directly against the smile line. The main goal is full, clean contact between the white acrylic and the pink smile line.
Use controlled beads instead of flooding the tip area. Place the product close to the smile line, press it into the edge, and guide it toward the free edge. It’s important to maintain the right acrylic consistency; if the bead is too wet, it can run into the carved section and soften the line, and if it is too dry, it can leave gaps where the colors meet.
Use Clear Acrylic To Protect the Design
Clear acrylic is useful when the design includes glitter, layered color, or you need to build up the apex of the nail. Encapsulation locks the design under a clear layer, giving you room to refine the surface without cutting into the placement underneath. However, if there are no additional designs, you can finish your work simply with a layer of top coat.
Refine the Shape Without Flattening the Work
The filing step is where many reverse French sets lose their iconic precision. Heavy filing near the smile line can blur the separation between colors. Refine in stages and check the nail from multiple angles.
Start by correcting the sidewalls and free edge. From there, refine the surface while keeping the apex and overall structure intact. Avoid filing the center flat in an attempt to remove bulk. A reverse French still needs structure, especially when the set has length.
Correct Common Reverse French Problems
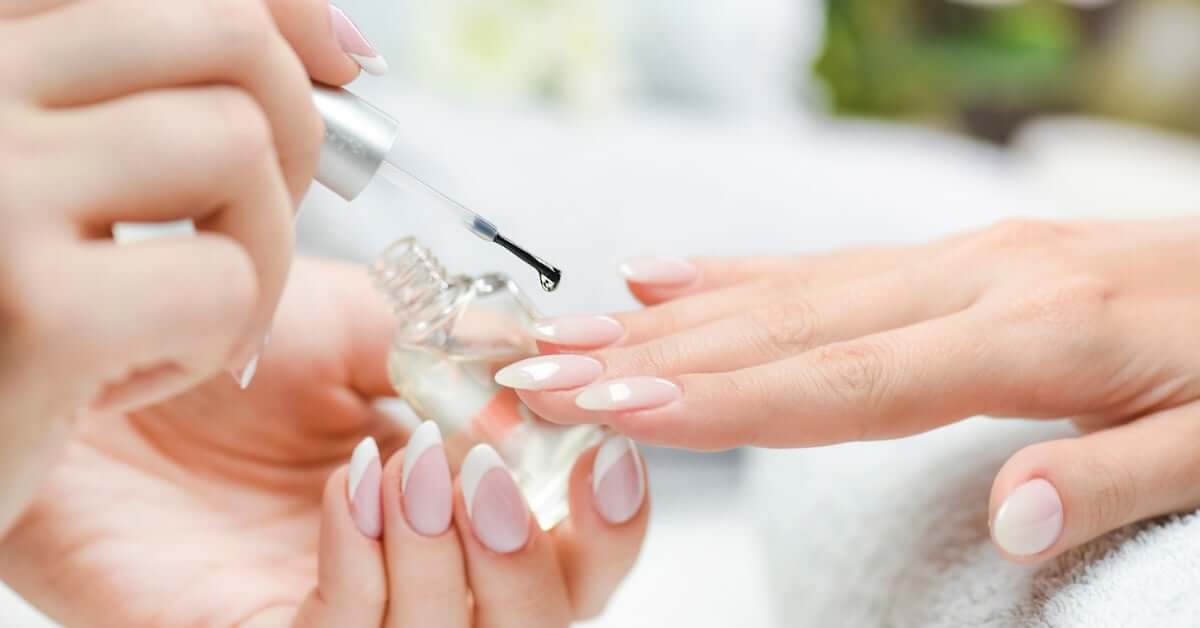
Most reverse French issues come from bead control or overfiling.
Uneven smile lines usually start with inconsistent pink acrylic placement. Mark the approximate depth visually before building, then compare each nail as you work. If the curve is off, correct it before adding the tip color.
Meanwhile, gaps between colors often happen when the tip bead is too dry or not pressed fully into the carved edge. Additionally, the process of using too much pink acrylic—then adding tip color and clear acrylic over it—can create bulky results and create pressure to keep filing.
Sharpen the Technique One Step at a Time
Reverse French manicures reward precision. Each stage affects the next, from pink acrylic placement to final filing. A clean result comes from building the design with the acrylic instead of making corrections at the end.
To master reverse French manicures using acrylic powders, keep the process controlled: plan the depth, shape the pink acrylic, apply the tip color cleanly, and protect the design before refinement. Small adjustments in bead size and filing pressure make the finished set look sharper and more consistent.
At Mia Secret, we offer acrylic powder collections for professional nail technicians building detailed acrylic sets, including reverse French designs. Explore our acrylic powders to create cleaner smile lines, controlled structure, and more consistent acrylic applications.