


Long extensions expose every weakness in your prep, tip structure, and product control. If retention issues keep showing up at the free edge or sidewalls, the problem usually starts earlier in the service than you might expect. To improve retention for long acrylic applications, every step—from tip trimming to acrylic placement—needs to be controlled and consistent.
Working with longer lengths means an increased risk of lifting, cracking, or imbalance. Clean prep, even tip length, and controlled acrylic application all contribute to a stronger final result when using acrylic nail systems.
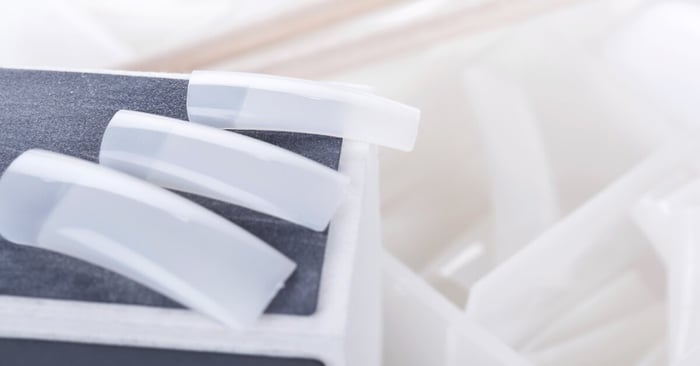
Start With Tip Application, Length, and Shape Planning
Apply tips across all 10 nails before adjusting length. This creates a consistent visual baseline and prevents uneven trimming between hands.
Trim tips to establish a controlled starting point before shaping. Length directly affects structure, so set it with the final shape in mind.
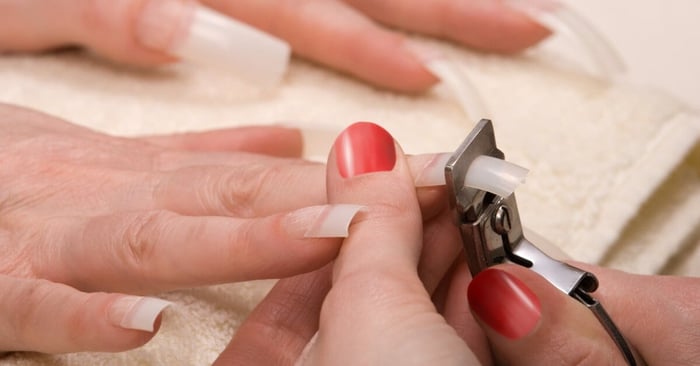
Work with the following tools for clean, controlled cuts:
- Use sharp tip cutters to create a consistent curve across each nail
- Use straight-edge clippers to make small length adjustments
- Use a fine-grit file (180–240) to refine the edge after cutting
Trim slightly longer than the final intended length to allow room for shaping. Keep the cutter perpendicular to the tip to avoid uneven edges.
Adjust length based on the desired shape. Square shapes can sit closer to the final length, while tapered shapes require more length to allow room for filing down while maintaining the desired length.
Build Structure With Controlled Acrylic Placement
Long acrylic applications require precise placement to build strength through the nail. Focus on placing product as close to the final shape as possible to reduce time spent correcting mistakes like bulk during filing.
You will want to adjust bead size based on where product is applied. For example:
- Place smaller beads near the cuticle to maintain a clean margin
- Build structure through the apex with controlled, larger beads
- Reinforce the free edge without overbuilding
- Keep product off the surrounding skin
Maintain a consistent liquid-to-powder ratio so the product behaves evenly across the full set.
As you work, build structure through the center of the nail to support length. Keep the cuticle area thin and the apex defined to prevent an imbalance that would create issues for long nail extensions, like stress fractures.
Identify and Reinforce Stress Zones
Long acrylic extensions place the most pressure at the transition between the natural nail and the extension. This area carries the weight of the length and is the most common point for lifting or cracking.
Identify the stress area just past the free edge of the natural nail and build structure directly through that zone. Distribute the product evenly through the center of the nail.
Reinforcing the stress zone during application helps the extension hold up under daily pressure and improves overall retention on any kind of extensions, but particularly longer sets.
Maintain Nail Curvature for Strength
Flat acrylic applications are more likely to break, especially at longer lengths. Maintaining curvature through the nail adds strength without increasing bulk.
Keep a slight C-curve through the body of the nail during both application and refinement. Keep product centered so the curve stays consistent from the nail bed through the free edge. Use a C-curve tool before the acrylic has cured completely to ensure that the enhancement maintains its curve through the free edge.
Check the nail from the front view throughout the service to confirm that the curvature is intact. This shape distributes pressure more evenly across the nail and supports durability as length increases.
Refine Shape and Structure Based on the Final Design
Refinement should follow the intended shape of the nail. Filing the same way across all shapes can weaken the structure.
Refine with intention:
- File sidewalls straight for square shapes
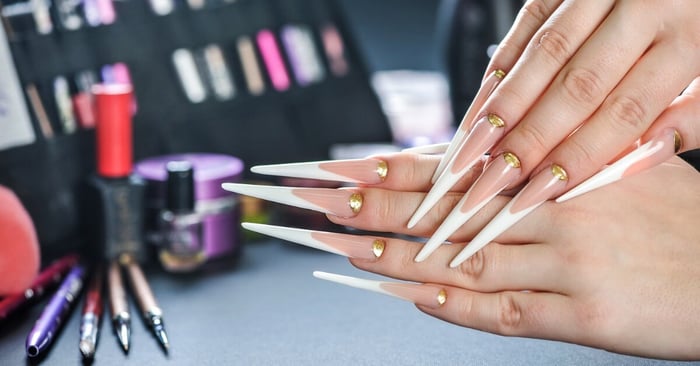
- Taper sidewalls gradually for almond, coffin, or stiletto shapes
- Remove flaring at the free edge during shaping
- Keep the free edge even across all 10 nails
Check the nails from multiple angles during refinement to confirm alignment. Keep the structure consistent from the nail bed through the extension.
Finish With Edge Control and Protective Coating
Final refinement supports durability by removing surface inconsistencies and reinforcing the edges.
Work through finishing steps methodically:
- Refine the surface using proper grit progression
- Smooth the structure without flattening the apex
- Remove all dust before applying color or finishing products
- Cap the free edge during top coat application
Top coat protects the surface, while structure maintains the strength of the extension.
Common Problems for Long Acrylic Nails
Lifting on long acrylic nails usually appears in specific areas of the nail. Addressing these issues during application improves retention and reduces the need for correction after the set is complete.
Lifting Near the Cuticle
Lifting near the cuticle often comes from product being applied too wet, flooding the cuticle, or making contact with the surrounding skin. Keep the cuticle area clean by working with smaller beads and maintaining a small margin between the cuticle and base of the nail.
Lifting at the Free Edge
Lifting at the free edge is typically caused by insufficient structure through the extension or improper blending between the natural nail and the tip or form. Reinforce the free edge with enough product to support the length and ensure a smooth transition from the nail into the extension.
Lifting at the Sidewall
Sidewall lifting can happen when the sidewalls are overfiled, the tip is not properly fitted, or product is not evenly distributed along the sides. Keep the sidewalls aligned, avoid removing too much structure during refinement, and ensure proper fit before application.
Cracking
Cracking through the body of the nail usually points to an apex that is too flat, too thin, or placed too far forward or back. Build the apex in the correct position and maintain enough thickness through the center of the nail to support the length. A good rule of thumb is to check the structure of the nail by looking down the barrel of it as well as down the side fo ensure apex structure is even and well-placed.
Advise Clients on Wear and Maintenance
While there are many steps you can take during the application to create a durable result, retention also depends on how the set is worn after the service. Daily use places stress on longer extensions.
Recommend a length that aligns with the client’s daily hand use. Advise them to avoid direct force at the free edge during routine tasks and emphasize the importance of regular fill appointments to maintain structure as the nail grows out.
Improve Retention With a More Consistent Process
Retention on long sets comes down to consistency in prep, trimming, and application. Even tip length, clean edges, and controlled acrylic placement all contribute to a stronger extension.
To improve retention for long acrylic applications, take a controlled and purposeful approach to every step.
Upgrade Your Acrylic Workflow
Stronger retention starts with the right materials and a consistent process. Mia Secret offers professional tools designed to support clean application and reliable results.
Explore Mia Secret’s acrylic nail systems to refine your technique and build longer-lasting sets with better control.